


How to Add Facebook Pixel to WordPress Without A Plugin (Step by Step)
When running a WordPress website and knowing the social media platform's popularity, no user can overlook the benefits of social media. When it comes to Facebook, it's important to keep two things in mind:
- Generation of more conversations
- Connecting to the right audience
Clearly, Facebook has better advertising abilities for every business type. Also, WordPress is the easiest platform among all to initiate a business. This article provides an experiment to add a Facebook pixel to WordPress without a plug-in.
Before understanding, it is important to be aware of the Facebook pixel code. It is a JavaScript code piece for computing the benefits and efficiency of FB advertising campaigns. From this, you can easily figure out the visitors' behavior on the website and reach the right audience.
What is Facebook Pixel and Why You Need It?
While the Facebook pixel is a Facebook-provided analytics tool, it is not to be confused with Google Analytics.
The Facebook pixel is a tool that allows businesses to track, target, and boost their Facebook ad campaigns. In short, FB pixel when combined with WordPress development can help you with:
- Conversions from Facebook marketing initiatives are being tracked. For example, you can see how many people purchased something after seeing a Facebook ad.
- Building a target market for Facebook ads, involving the potential to retarget people who have visited your Facebook profile.
- Optimizing the expenses on ad campaigns. For instance, automating the bidding process to reach the people who might buy from your website.
You may make wise financial decisions based on all data and visitor actions. Even if you don't market your WordPress website on Facebook, adding Facebook pixels to it can help you drive traffic to your blogs. Furthermore, allowing you to track the effectiveness of your advertising operations.
Let us read this guide on how to incorporate Facebook pixels to your WordPress website.
Also Read : A Beginner’s Guide on WordPress Conversion Tracking
Step by Step Guidance of Adding Facebook Pixel to your WordPress Website without using Plugin
Step 1. Begin With Creating a Facebook Pixel
- Open Facebook Events Manager and choose ‘Connect to Data Sources.’

- Press Web and select Get Started.
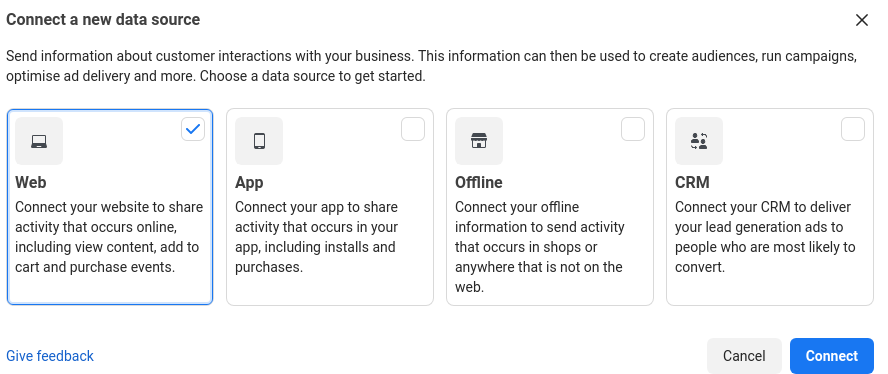
- Under the connection method, choose Facebook Pixel and press Connect.
- The next step comes to naming the pixel and entering the website URL.
- Once done, hit Continue.
However, keep in mind that you only get one pixel per ad account when naming the pixel. As a result, be sure the name you choose represents your brand.
Also Read: WordPress Website Cost -How to Calculate?
Step 2. Incorporate Pixel into Your Site
Once you are done creating a pixel, the next step comes to installing codes onto your web pages.
- Open Events Manager and pick the pixel.
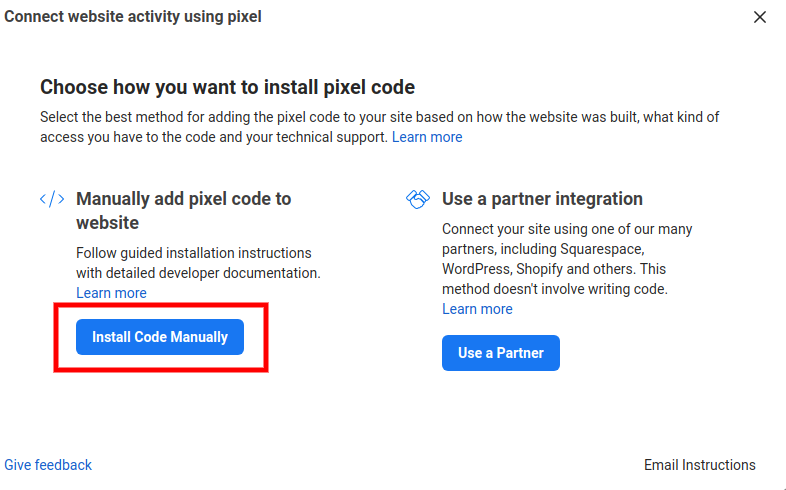
- Press Continue Pixel Setup, choose Facebook Pixel and enter Connect.
- Now, hit the Install code manually option.
- Copy the code available.
- Go to your website's dashboard
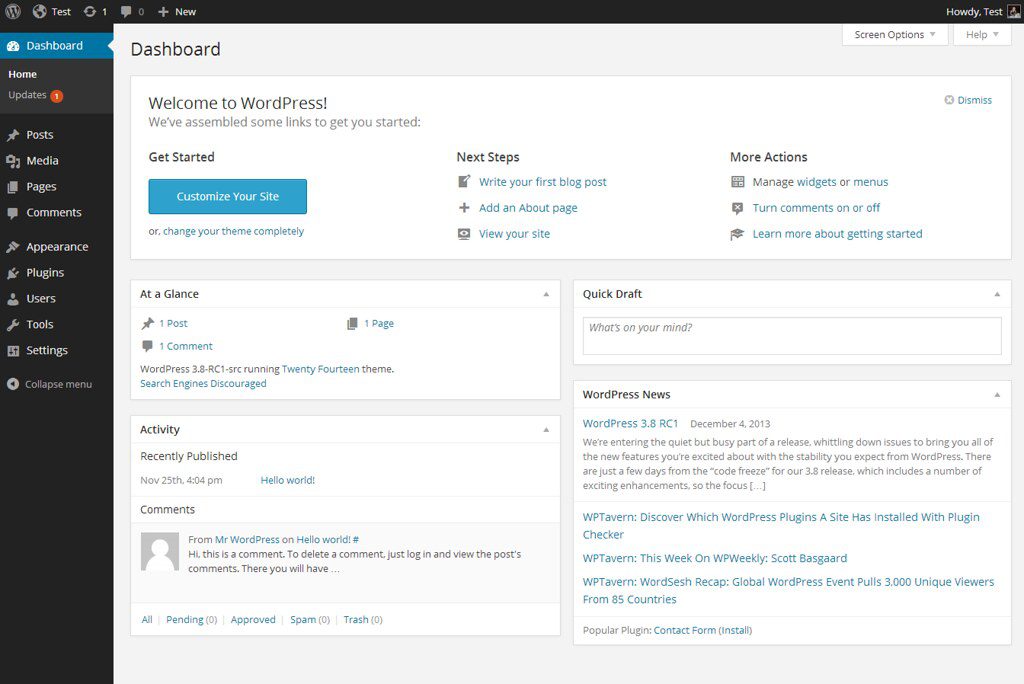
- Discover header file of your active theme. For this, follow below steps:
- Direct towards the Appearance>>> and click on “Editor”.
While using the parent theme, each file lists in the right column. - When the user is using the child theme, then navigate to the top of the right column. No pull-down menu is present. Choose the parent theme of the child theme to use. The answers to the preference of the child theme are there in this link.
- Select the Header.php file (Theme. Header). You can move to the next step by clicking on it.
- A window with more code will appear.
Around the file text, viz., header.php, <head> as an opening tag and </head> as the closing tag will appear. From here which the website needs to add in each page will move. Like, google analytics, google fonts, and pixel code, etc.
- Paste the pixel code on right before the </head>.
- From the bottom, click on the update file.
Perfect! The addition of WordPress is successfully done.The pixel code has been added successfully to WordPress.
The execution of the Facebook pixel might take some time to collect the data. The user can find whether the FB pixel is active or not by navigating to the Pixel tab. It can be done from the Ads Manager account. When there is a green light, the active state of the Facebook pixel will be confirmed. The red line is the confirmation of not proper implementation. Or, it is a sign of data gathering.
Willing to work with us. Contact us Now
Ending Note
The addition of Facebook pixel to your WordPress website without a Plugin will be useful for Remarketing and Retargeting. FB pixel will help a business owner to get a high valued audience. Return on Investment (ROI) for every campaign will also generate. With less cost, more efficient ads and more ROI will be accomplished.